Showing posts with label CPL Products. Show all posts

Monday, 17 April 2023

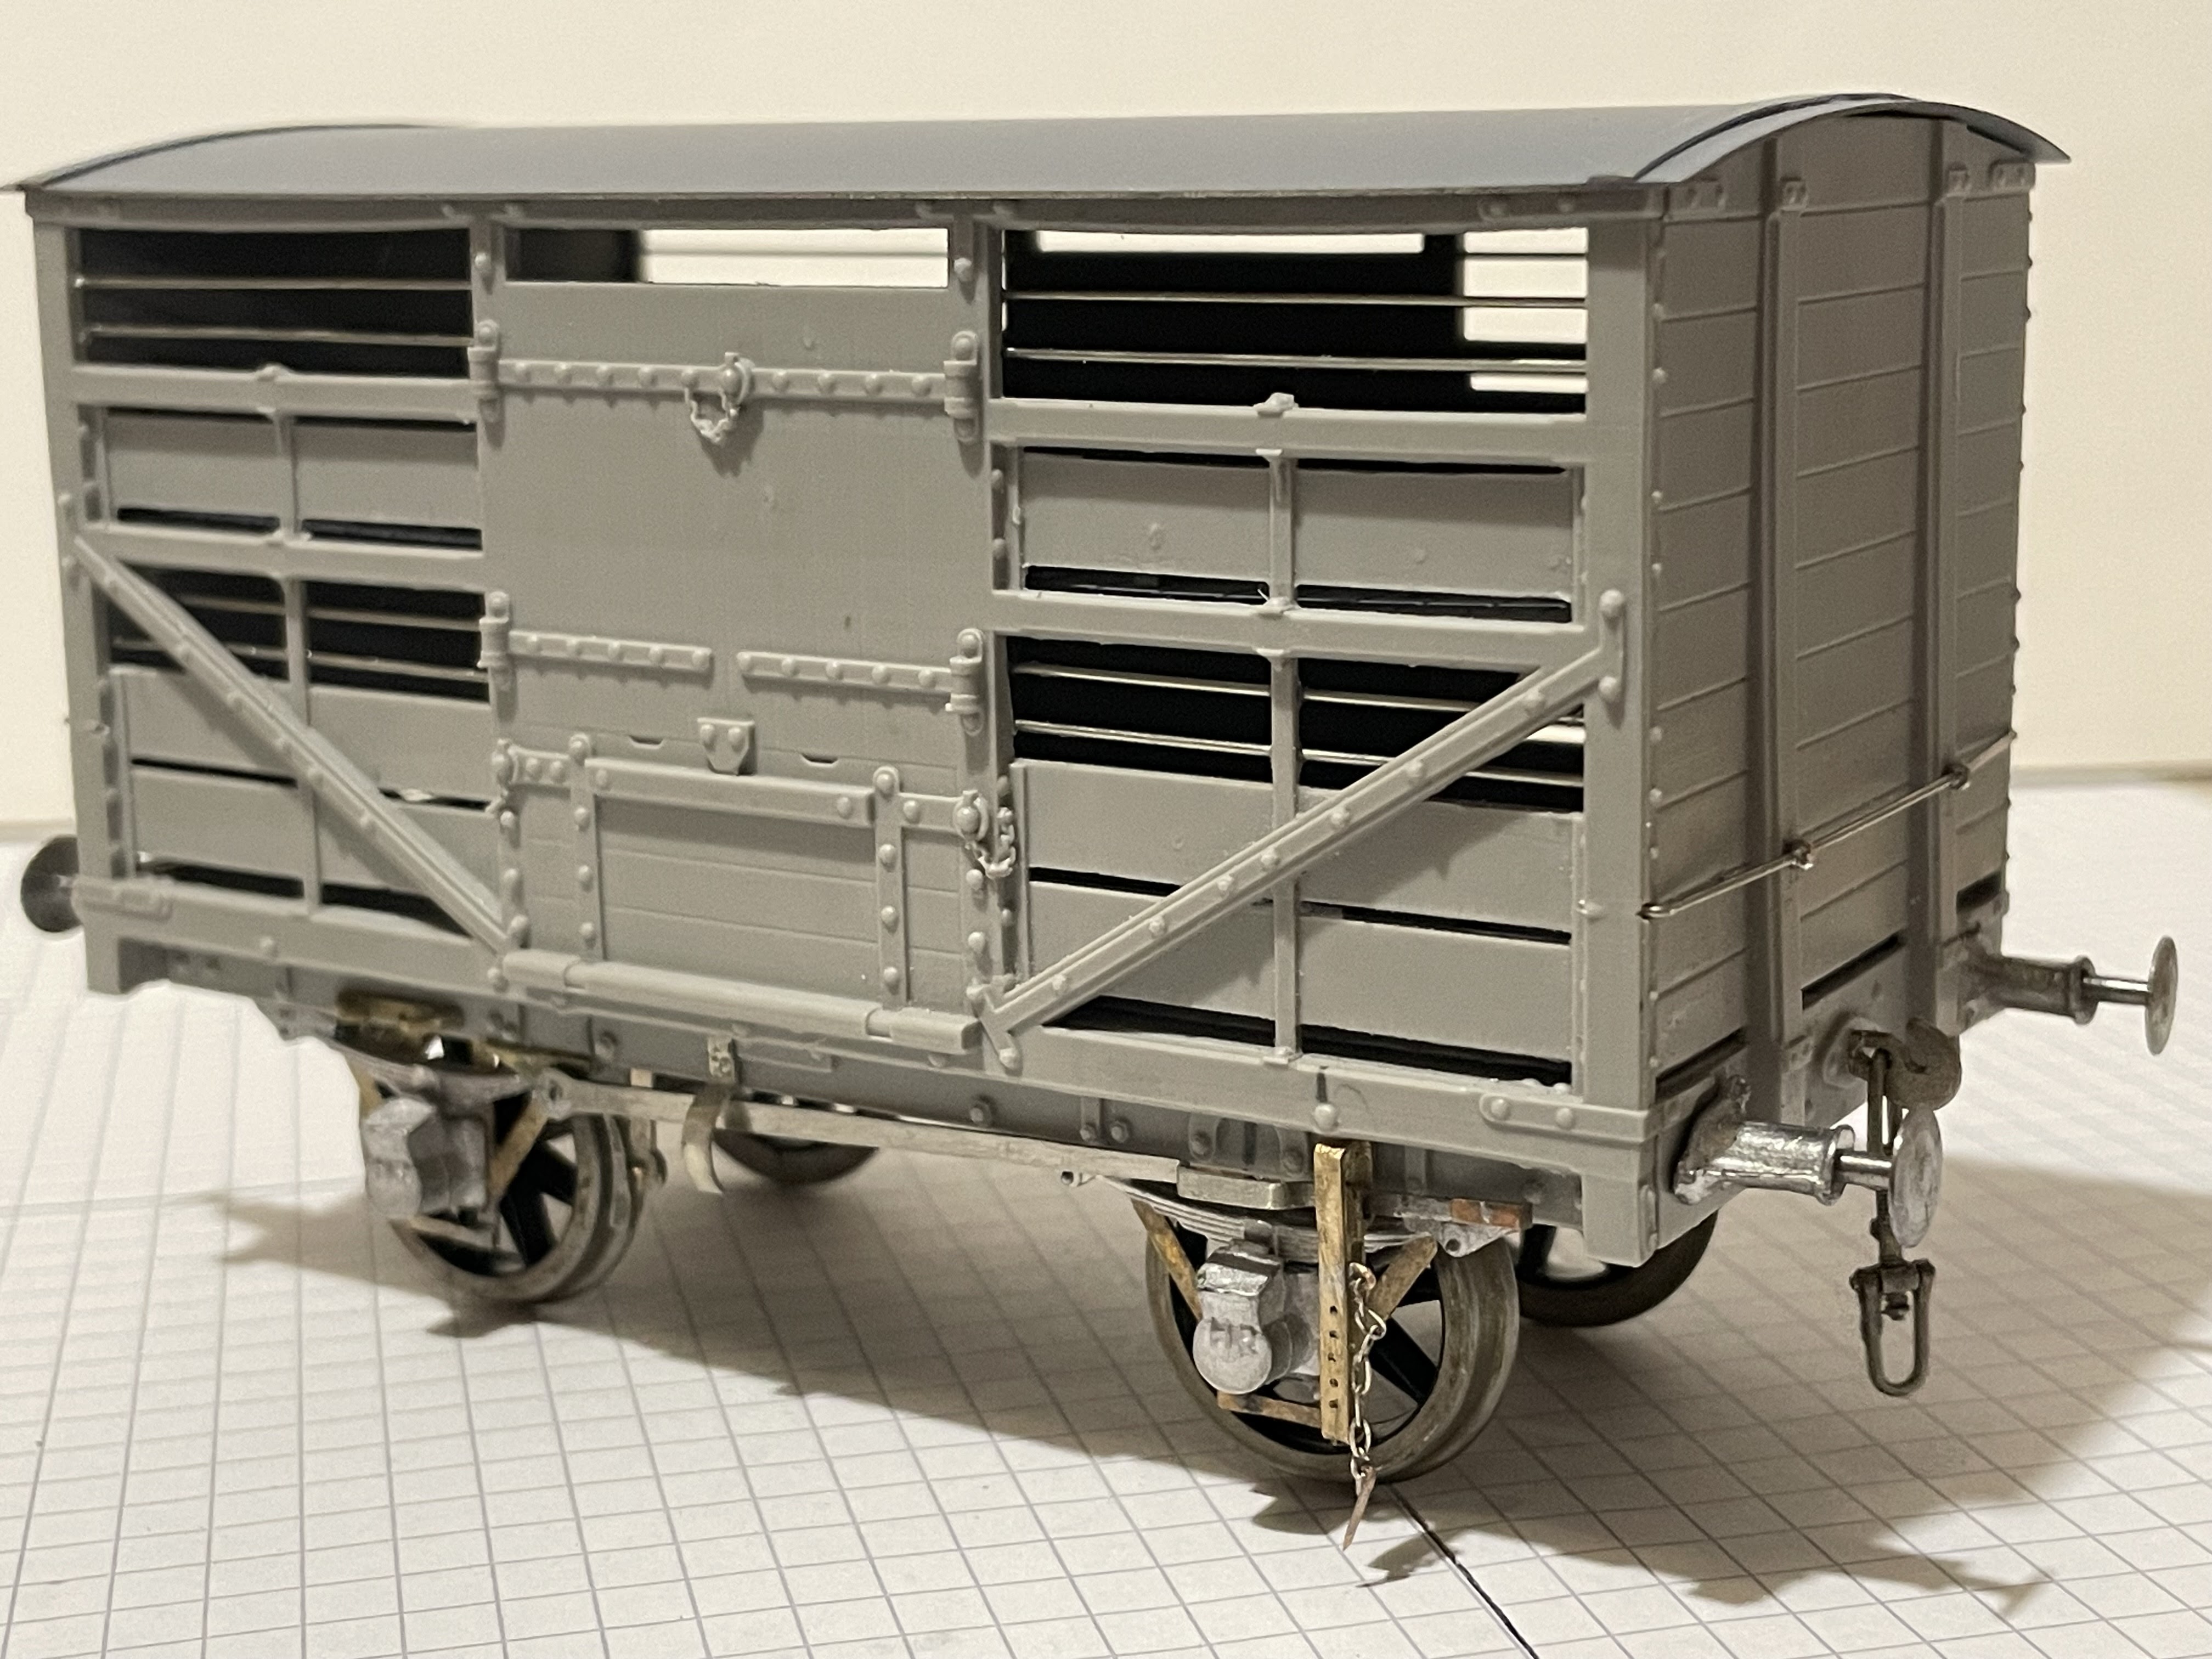
HR 8-ton double-deck sheep van with planked sides in 7mm scale.


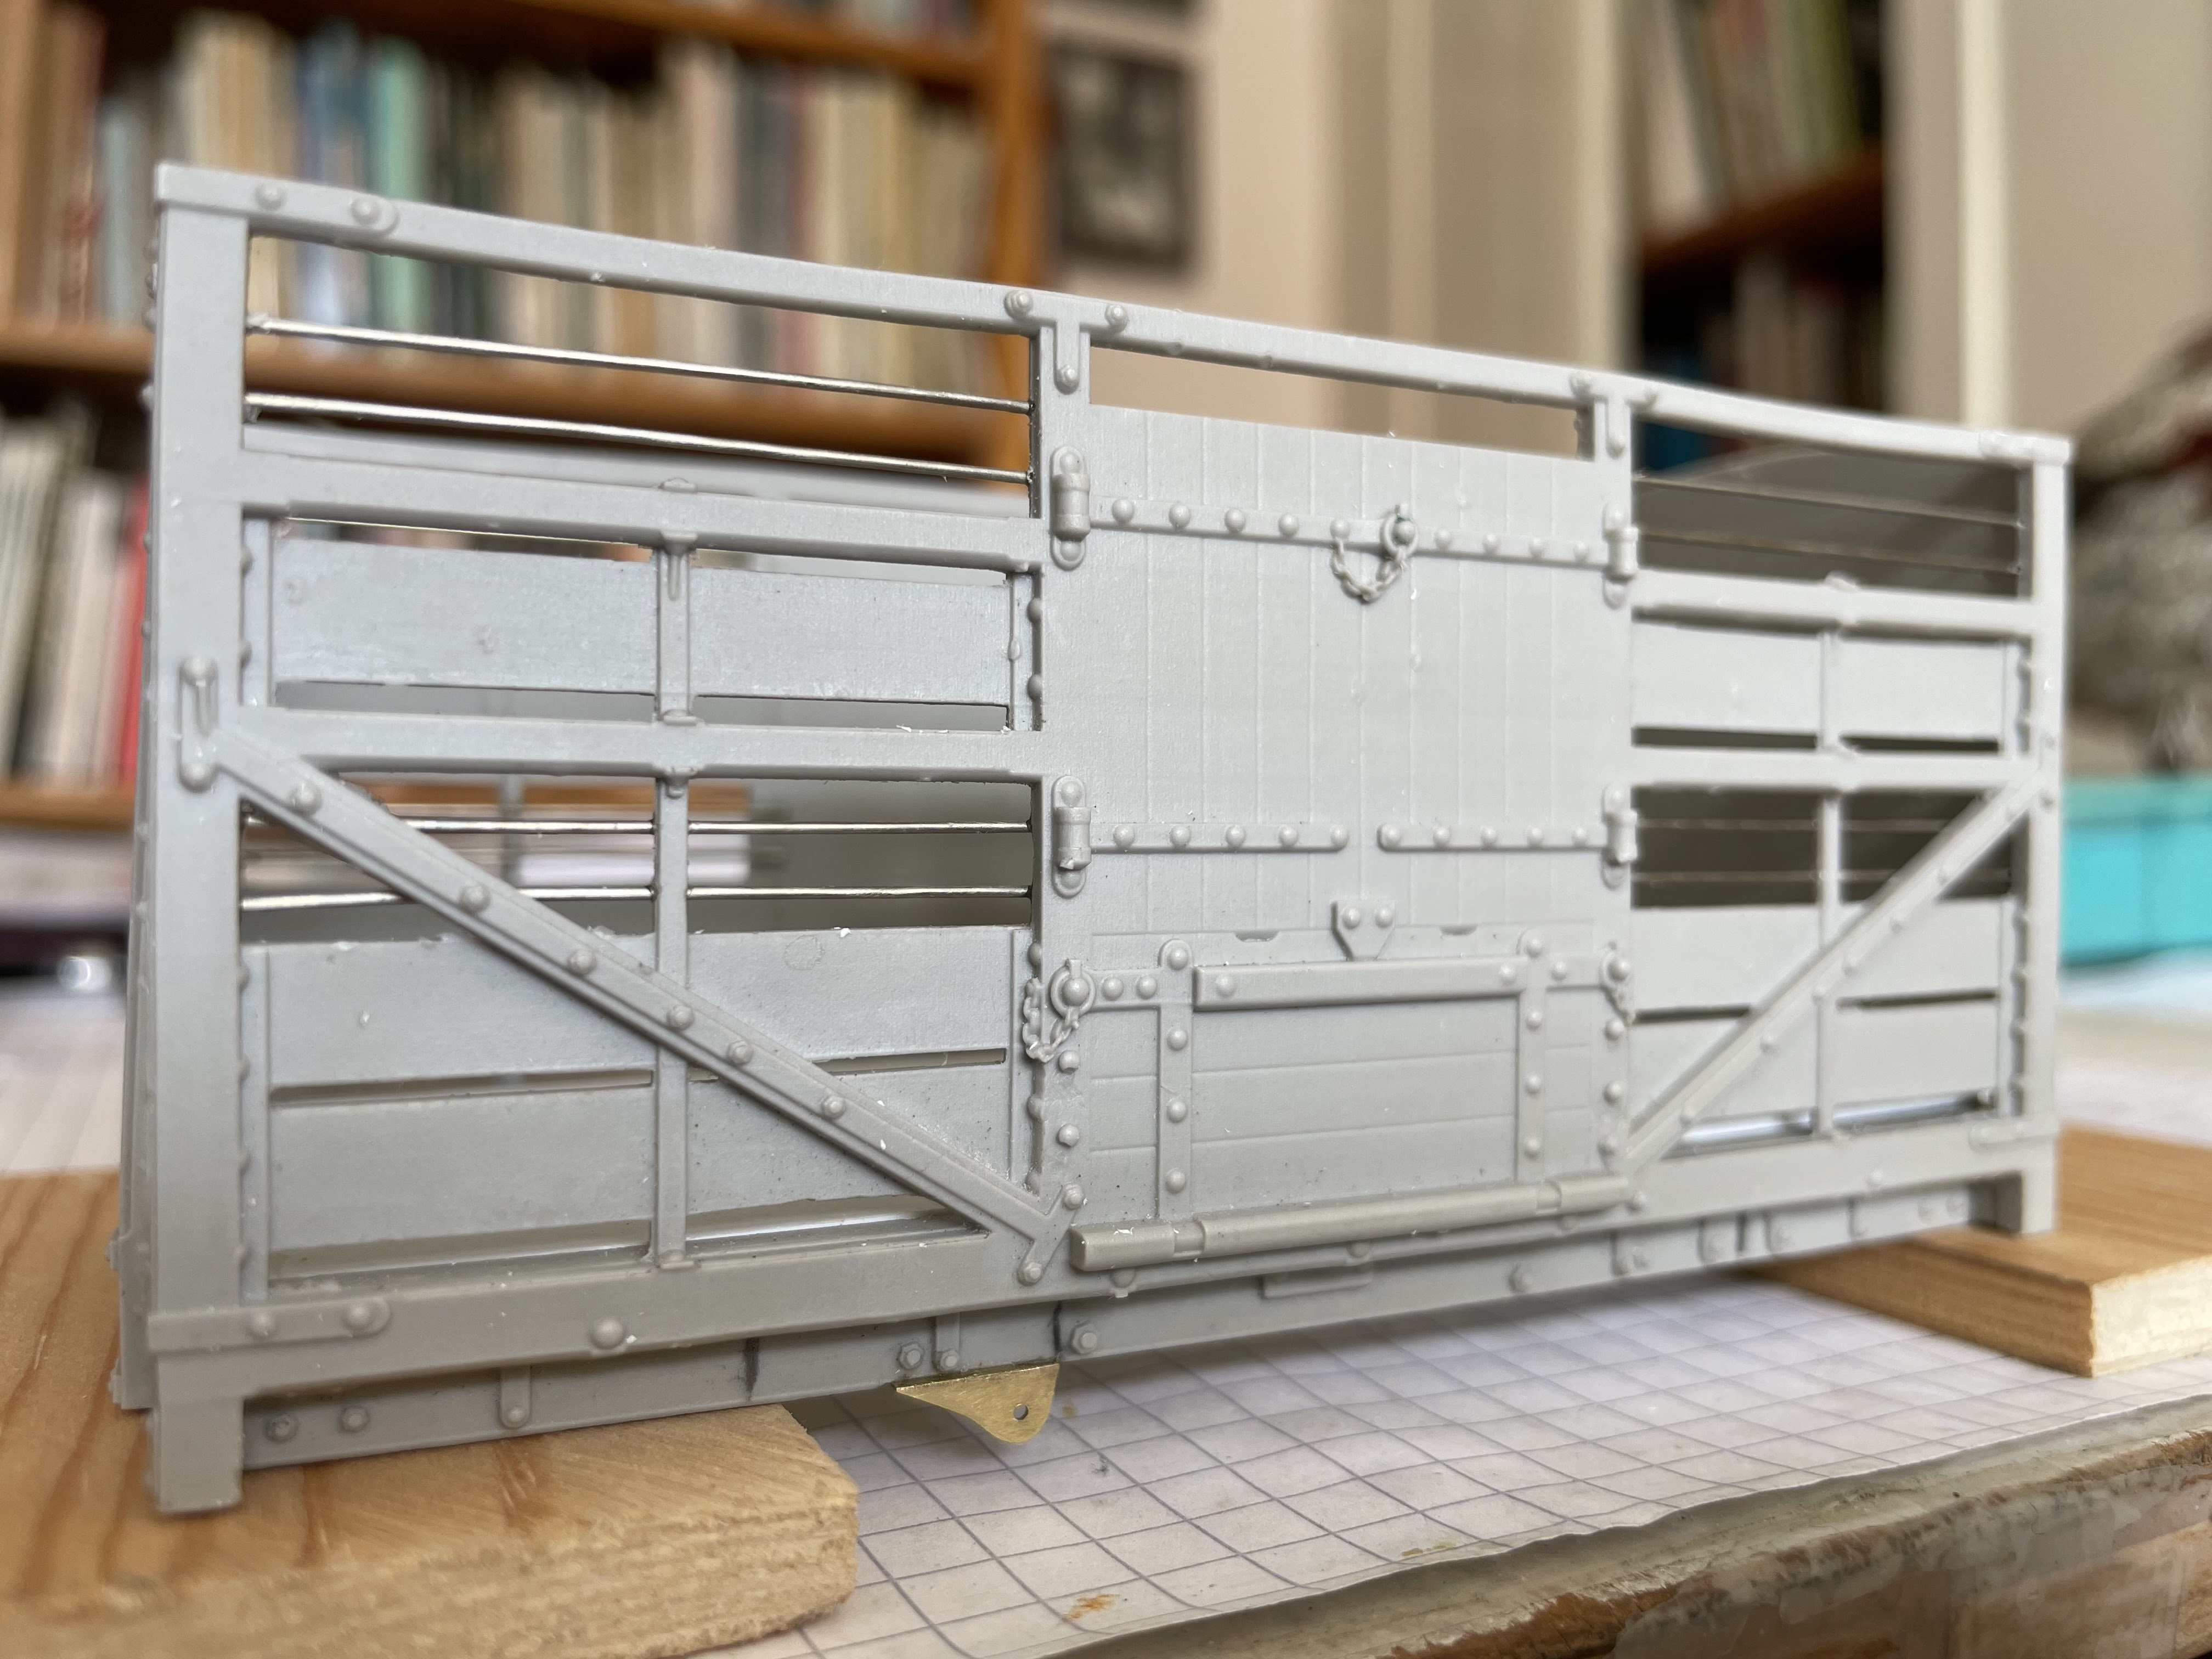
Pete's new addition to his range of aids to scratch-building provides resin sides and ends for a Highland Railway 8-ton double-deck sheep wagon d.17. Parts from the trade, such as the W-irons, buffers, springs, axle boxes and couplings are easily sourced (see below). Additional items such as brake gear, roof and internal floors can be cut from sheet metal or Plastikard, so in a round-about way a multi-media kit is assembled to each individual modeller's choice. 

Price is £22.50 plus postage at cost £1.60 1st Class or £1.15 2nd Class.
Buy 2 or more and postage is Free.

Contact Pete on...
armstrongps1@gmx.com
017687 71302
07342 617 813

This is what you get...


The openings are filled with a thin membrane. Hold to the light to identify the openings and push out the membrane with the back of a scalpel blade, it only takes a few minutes. The resin ingates (with holes in) are cut off with a fine coping saw and the bottom of the castings filed flat. 

In addition you'll need...

Slater's 3' 1" wagon wheels ref: 7120
Slater's 1mm Plastikard, 7mm planking and 1.5mm strip for battens.
W-irons from Slater's or The Highland Railway Society.
Springs, axle-boxes and buffers from Invertrain.
Couplings from CPL Products.
Horse hooks, brake lever guard and collarless hand rail knobs from 62C Models.


Close up showing the fine detail of the resin castings after the openings have been cleared of membrane. Horizontal bars are made from 0.6 nickle silver or brass wire glued into slots behind the openings.


The upper floor sits behind the horizontal midway strut and serves to brace the structure. The roof is made from 0.4mm nickle silver sheet, rolled to shape; Plastikard would provide an alternative solution.    

 Plastikard planking, with 1.5mm battens to provide a footing for livestock, overlays the 1mm thick lower floor. Note the interior detail and the horizontal wire glued in slots across the openings. The ends of the planks marked with an X have been trimmed slightly to seat the end.

View of the rocking-axle, coupling and buffer shanks, which run in slots behind the solebars. The floor under the axles has been built up 1.5mm with Plastikard sheet to provide the correct ride height.

The upper deck of the van is split in half along its length to allow it to seat in place; an overlay of battened Plastikard planking sits on top of this. The planked floors show up well in good light, even with the roof in place and are worth the effort of detailing them with battens.

 An additional, though optional detail, is the chain which holds the pin which locates in the holes in the rack to hold the brake lever down. 

Brake shoe and brake lever are fabricated from nickel silver sheet. Springs and axle-box are cast in white metal from my own master patterns in my workshop.
 
 
The sides and ends are glued together and 0.6 n/s wire is fastened behind the opening in slots provided; which may need enlarging a little. The ends of the horizontal planks need trimming slightly inside, to allow the sides to seat in place.


A short length of square section tube has been fashioned to make the brake lever hanger, this is glued into a shallow slot cut in the sole-bar.


The horizontal handrail is held in place by collarless handrail knobs which locate into holes in the uprights. The handrail is soldered to the knobs in situ then the assembly is removed, the wire bent to fit the outer holes and replaced.


The van is weighted up to 150g and runs superbly. Note the brake lever guard set just off-center on the sole-bar. There doesn't seem to be much room for a cast number plate on the narrow sole-bar, perhaps sheep vans made do with numbers painted on the lower horizontal boards.  


Thursday, 2 February 2023

Swivel Cradle Wagon complete

7 Ton Swivel Cradle Wagon photographed in LMS days.
Photo HRSoc Collection/Am Baile


Built from my own "Aids to Scratchbuilding", the resin castings for this wagon include the sides, ends and the swivel cradle. The upright stanchions are white metal castings from my own workshop. Buffers, axle boxes and springs are commercial castings from Invertrain, other parts are made from n/s strip. The turnbuckles and fastening chains are from CPL Products.


The load fastening chain and turnbuckle are anchored to an eye bolt on top of the metal corner reinforcement. On the deck can be seen the angle-irons that restrict the rotation of the swivel cradle. There's a sledge hammer that's been left on the deck too.


An metal eye serves to attach the upright stanchion to the corner plate by means of a short chain.

Running as a pair, No.908 which is a known number and 907, which is probable. 


Castings for the swivel cradle wagon are Sold Out now, however Pete has plans to produce more resin sides and ends for Highland Railway wagons. The first of these sets of castings will be for a...

Drummond 8-ton 4-plank mineral wagon to HR d. 10

If you yourself would like to suggest a subject for Pete to include in his range please let him know, I'm sure he'd be pleased to oblige.


Friday, 9 August 2019

Caledonian Railway 15T Goods Brake Van

CR 15 Ton Goods Brake Van construction complete
Built from Caley Coaches' etches with castings from Invertrain, the van is robustly constructed with soldered joints throughout and with a wealth of fine detail underneath which represents the brake rigging. Suspension is by means of a rocking axle which ensures a smooth ride. The tie-rods, which are out of sight behind the footboards, are connected only to the non-rocking w-irons, a loop of wire holds them in place loosely at the rocking end. The longer handrails on the sides and ends are supported midway by 4mm scale handrail knobs drilled 0.6mm to take the handrail.

Slaters' lamp irons have been used on the sides and ends of the van and will take CR pattern brake van lamps which are available from Invertrain. Note the steps mounted above the buffers and the finely detailed and fully articulated couplings which are from CPL Products, these are sprung, despite the lack of space behind the buffer beam, not really for any mechanical advantage but so that they can be removed for finishing.

The roof is held in place by a screw mounted in the chimney, in fact the chimney is the screw. Similarly, the body of the van is fastened to the chassis by two 8BA screws under the floor so the van can easily be dis-assembled for painting and glazing. The van is 120mm in length and weighs a satisfying 250g, heavy for her length, which I think helps her running characteristics.


Interior of veranda with guard, seat and brake winding mechanism.


Note the thickened inner windows and the open door to the cabin.
Ready for the paint shop.

Friday, 1 March 2019

LMS 5050 Merrie Carlisle progressing

The triangular ash hopper has a shield to prevent ash blowing up into the motion, the hole in it is not prototypical, it is for access to the body fixing screw.

The cylinder drain cocks can be seen below the front cylinder covers, their operating rods have been modelled as far as possible. The join between the working frames and the wider forward extension of the frames, which are fixed to the footplate, is clearly seen though is not obvious when the wheels are in place. The gap between the front and rear plates of both the buffer beam and the ash hopper are filled with Milliput. The void in the buffer beam allows the front coupling, which is pegged in place,  to be removed; these are fully working couplings supplied as a kit by CPL Products, the characteristic LNWR "T" bar is an added refinement. Note the front sand box nestling behind its outer cover, the lower part of the sand pipe is yet to be fitted.


Work on the detail in the cab is at an advanced stage.

 
The roof is soldered to the inner spectacle plate, both this assembly and the backhead can be removed so I can work on the detail, some of which you can see in this view of the engine. The lower footplate of the real engine consisted of a casting which accommodated wooden blocks a fraction over 1" square. I've not modelled this feature yet as I need some Scale Link 1mm square mesh which is proving difficult to come by. The idea is to push the mesh onto a flat piece of Milliput which, hopefully, will pop up through the mesh to form the "wooden" blocks!


Cab details progressing though there's still more to add.

 
Most of the castings used in the cab are from Laurie Griffin Miniatures and though they have all been modified in some way without them this sort of detail would not be possible.


Superstructure and frames pose on the wooden block that the engine is built on surrounded by the debris of a working session in the studio.


I bought some collarless handrail knobs from 62C Models which hold the handrail that runs along the larger vacuum ejector pipe on both sides of the engine. On the right hand side the hand rail operates the blower valve which is attached to the smokebox, this was done by turning a handle in the cab which I have not yet managed to model. Behind the chimney sits the smokebox regulator lubricator for which I have not been able to locate a suitable casting so I'll have to make one myself. The LNWR Society's re-publication of Bill Finch's book on building an LNWR Jumbo is invaluable and provides drawings of most of the details I've included in the model or have yet to make, Jack Nelson's book "LNWR Portrayed" is also useful to modelers